
Logo to JEF Embroidery File Conversion
A logo may look perfect on your computer, but turning that artwork into clean embroidery is a completely different challenge. Embroidery machines do not read ordinary JPG, PNG, or PDF images the same way people do. They need detailed stitch instructions.
That is where logo to JEF embroidery file conversion comes in. The process transforms your artwork into a stitch-based design that can be used with compatible embroidery machines.
Whether you are preparing a business logo for uniforms, creating branded caps, or making personalized garments, understanding the conversion process can help you get much better results.
In this guide, we will explain how to convert a logo into a JEF embroidery file, what makes a good source image, common mistakes to avoid, and when professional embroidery digitizing is worth considering.
What Is a JEF Embroidery File?
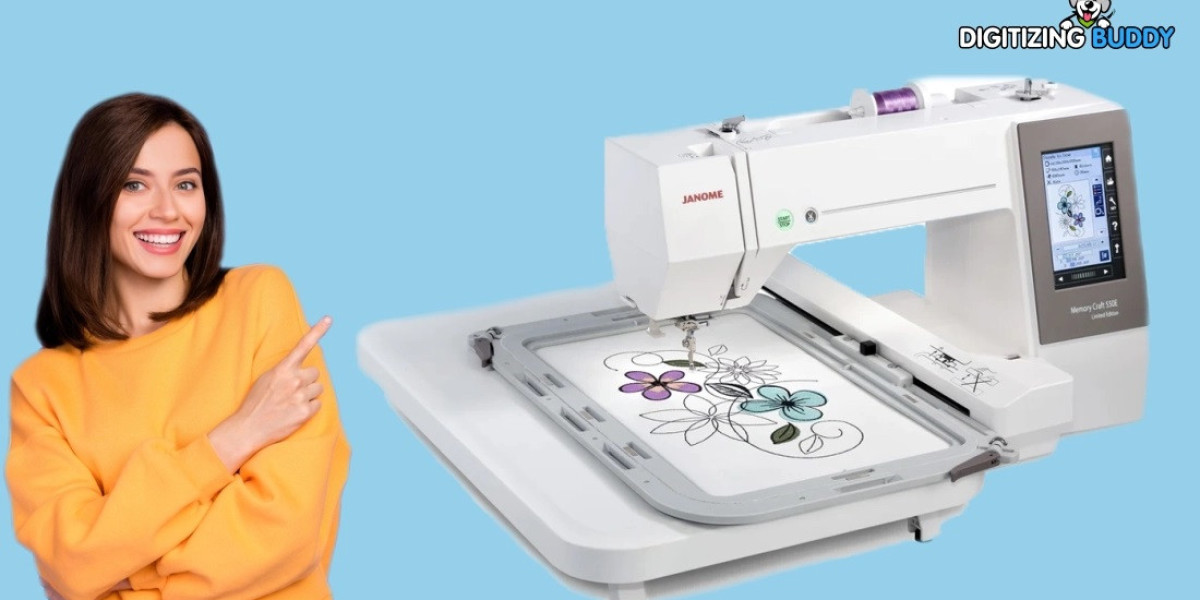
JEF is an embroidery file format commonly associated with compatible Janome embroidery machines.
Unlike an image file, a JEF file contains instructions for creating an embroidered design. These instructions can include:
Stitch placement
Stitch direction
Thread colors
Stitch sequence
Design dimensions
Needle changes
Trims and jumps
Think of your logo as a drawing and the JEF file as a sewing blueprint. The drawing shows what the design should look like, while the embroidery file tells the machine how to stitch it.
This is why changing the file extension from .jpg to .jef does not actually convert the artwork.
Why Convert a Logo to JEF Format?
Businesses often use embroidered logos on uniforms, workwear, promotional products, hats, jackets, bags, and other items.
A professionally prepared JEF design can help your logo maintain its shape and visual identity when reproduced with thread.
The benefits include:
Machine-compatible embroidery instructions
Consistent logo reproduction
Better control over stitch placement
Proper thread color management
Improved embroidery quality
Easy use on compatible machines
If you plan to embroider the same logo repeatedly, having a properly digitized JEF file can save time and reduce production problems.
How Logo to JEF Embroidery File Conversion Works
The conversion process involves several important stages. Simply uploading an image and exporting it is not always enough.
1. Start With a Clear Logo
The quality of your original artwork can affect the final embroidery.
A high-resolution PNG, JPG, PDF, or vector-style logo is usually easier to work with than a blurry screenshot.
Look for artwork with:
Clear edges
Strong contrast
Recognizable shapes
Limited unnecessary details
Good color separation
If the logo is already available as clean artwork, the digitizing process becomes much easier.
2. Prepare the Artwork
Before digitizing, unnecessary elements should be removed.
For example, imagine a company logo containing a symbol, company name, and a small decorative line. If the decorative line is extremely thin, it may not translate well into embroidery.
A digitizer may need to simplify or adjust that element so it remains visible after stitching.
This step is often called artwork cleanup or design preparation.
3. Choose the Final Embroidery Size
Size matters more than many beginners realize.
A logo designed for the back of a jacket can contain more detail than a tiny left-chest logo. Similarly, a design intended for a cap may need different treatment because of the curved sewing surface.
Before starting logo to JEF embroidery file conversion, determine:
Where the logo will be embroidered
Final width and height
Fabric type
Hoop size
Intended machine
Whether the design will be enlarged or reduced
Creating the correct size from the beginning can prevent quality problems later.
4. Select Appropriate Stitch Types
Different areas of a logo require different stitch structures.
Satin Stitches
Satin stitches work well for borders, narrow columns, and lettering. They can create a smooth and professional appearance when properly sized.
Fill Stitches
Fill stitches are commonly used for larger areas. They cover broader sections with rows of thread.
Running Stitches
Running stitches can be useful for outlines and fine details where a heavier stitch would be unnecessary.
The goal is not to use one stitch type everywhere. Each part of the logo should be evaluated based on its shape and size.
5. Set Stitch Direction
Stitch direction influences how light reflects from embroidered thread.
If every section uses the same angle, the design can look flat. Changing the stitch direction between suitable areas can help create definition and visual separation.
For example, horizontal stitching in one section and diagonal stitching in another can make two adjoining areas easier to distinguish.
6. Add Underlay
Underlay stitches create a foundation underneath the visible stitches.
They can help stabilize fabric, support the top layer, and improve coverage.
However, adding too much underlay can create unnecessary bulk. The appropriate settings depend on the design and fabric.
This is one reason professional embroidery digitizing requires more than basic image conversion.
7. Adjust Stitch Density
Stitch density determines how closely the stitches are placed.
Too little density can leave unwanted fabric showing through. Too much density can cause stiffness, thread buildup, or puckering.
The right density depends on:
Fabric
Stitch type
Design size
Thread
Underlay
Logo details
A good digitized design balances coverage with flexibility.
8. Assign Thread Colors
Your original logo colors need to be translated into embroidery thread colors.
Keep in mind that colors displayed on a monitor may not look exactly the same when reproduced with thread.
If you are digitizing a business logo, choose thread colors that closely represent the brand's intended appearance while also considering the fabric color.
9. Create a Logical Stitch Sequence
The embroidery machine needs a clear sewing order.
A well-planned sequence can reduce unnecessary trims, jumps, and thread changes.
It can also help prevent previously stitched areas from being disturbed as new sections are sewn.
A professional digitizer considers not only how the logo looks, but also how the machine will physically sew it.
10. Export the Design as JEF
After the design has been digitized, reviewed, and optimized, it can be exported as a JEF embroidery file.
Before using the file, check:
Final dimensions
Hoop compatibility
Stitch count
Thread colors
Stitch sequence
Needle changes
Design orientation
The file should then be tested on the intended fabric whenever possible.
Logo Conversion Is More Than Changing File Formats
One of the biggest misconceptions about logo to JEF embroidery file conversion is that it works like changing a document from one image format to another.
It does not.
A JPG describes pixels. A JEF file describes stitches.
For example, a JPG might show a red circle using thousands of colored pixels. The embroidery machine needs to know how to recreate that circle using thread.
It needs information about stitch type, direction, density, starting point, ending point, and sequence.
That is why logo conversion for embroidery is better understood as digitizing artwork for machine embroidery.
What Makes a Logo Good for JEF Conversion?
Almost any suitable logo can potentially be digitized, but some designs are easier than others.
Simple Logos
Logos with clean shapes and limited colors are generally easier to reproduce accurately.
Detailed Logos
Complex logos may require simplification. Tiny details that look clear on a screen can disappear when converted into thread.
Small Text
Small lettering can be especially challenging. If letters are too tiny, their shapes may become difficult to read after stitching.
Gradients
Smooth color gradients do not translate directly into embroidery. They usually need to be recreated using thread colors and stitch structures.
Common Problems During JEF Logo Conversion
Understanding potential problems can help you avoid disappointing results.
Poor Source Artwork
A blurry logo can make accurate digitizing difficult. When possible, provide the highest-quality version available.
Too Much Detail
Trying to preserve every tiny feature can make an embroidery design crowded and difficult to sew.
Sometimes simplifying the artwork produces a more recognizable final result.
Incorrect Density
Excessive stitching can make fabric stiff or cause puckering. Insufficient stitching can create gaps.
Ignoring Fabric Type
A design that performs well on a stable fabric may need adjustments for stretchy or textured materials.
Skipping a Sample
Digital previews are useful, but embroidery is a physical process. Testing the design can reveal issues that are difficult to identify on a computer.
Tips for Better JEF Embroidery Results
Follow these practical tips when preparing your logo.
Use clean artwork whenever possible.
Decide the final embroidery size before digitizing.
Simplify details that are too small to stitch clearly.
Choose stitch types based on individual design elements.
Adjust density according to fabric and design size.
Use appropriate underlay for stability.
Plan the stitch sequence carefully.
Check hoop dimensions before exporting.
Preview the design before stitching.
Run a test sample before large production.
These small steps can make a noticeable difference in the final embroidery.
Can You Convert a Logo to JEF Automatically?
Some embroidery software can automate parts of the digitizing process. Automatic tools can be helpful for learning or for very simple artwork.
However, automatic conversion may not always produce production-ready results.
You may encounter:
Poor stitch direction
Excessive stitch counts
Unnecessary color changes
Weak small details
Uneven coverage
Too many jumps
Poor fabric compensation
For a personal project, experimenting with automation can be useful. For business logos and commercial embroidery, manual adjustments often produce more reliable results.
Professional Logo Digitizing With Digitizing Buddy
At Digitizing Buddy, logo artwork can be prepared specifically for embroidery rather than simply treated as an ordinary image.
The focus is on creating a practical stitch structure that considers the logo's details, final size, fabric, and intended use.
Professional digitizing can be useful for:
Business logos
Uniform branding
Cap embroidery
Jacket logos
Promotional products
Custom garments
Bulk embroidery orders
A properly prepared JEF file can help reduce trial and error and give you a more consistent embroidered result.
How to Check Your JEF File Before Stitching
Before starting production, take a few minutes to review the design.
Check the Size
Make sure the design fits the intended hoop and garment location.
Check the Stitch Count
An unusually high stitch count may indicate unnecessary complexity.
Review the Stitch Order
Look for excessive jumps, trims, and color changes.
Inspect Small Text
Make sure lettering remains readable at the actual embroidery size.
Test on Similar Fabric
Whenever possible, use the same or similar fabric for your sample that you will use during production.
Final Thoughts
Logo to JEF embroidery file conversion is not simply a matter of changing an image extension. A successful conversion requires turning artwork into carefully planned stitches that an embroidery machine can understand.
Start with clean artwork, choose the correct size, simplify difficult details, select suitable stitch types, control density, and plan the sewing sequence. Most importantly, test the design before producing a large batch.
If you want consistent results for a business logo or commercial project, professional digitizing can make the process much easier. With the right preparation, your digital logo can become clean, durable, and attractive embroidery.
FAQs
1. How do I convert a logo into a JEF embroidery file?
A logo must first be digitized into embroidery stitches using suitable embroidery software or a professional digitizing service. The finished design can then be exported in JEF format.
2. Can I turn a JPG directly into a JEF file?
Not by simply renaming the extension. A JPG contains image pixels, while a JEF file contains embroidery instructions. The artwork must be digitized.
3. What logo format is best for JEF conversion?
A clear, high-resolution logo is a good starting point. Vector-style artwork is particularly useful because shapes and edges are easier to work with.
4. Why does my JEF design look different after stitching?
Thread behaves differently from pixels on a screen. Stitch density, direction, fabric, thread colors, underlay, and embroidery size can all affect the final appearance.
5. Can Digitizing Buddy create JEF embroidery files?
Yes. Digitizing Buddy can help prepare logos as embroidery-ready JEF designs with appropriate stitch structures, sizing, and settings for the intended application.